Process Steps:
1 - Backing Up DBConnection.xml
Under the \lpt\ws\logo\WebContent\Config\System directory or
Using the Eclipse editor, you can easily access the file by typing DBConnection.xml into the shortcut that opens with Ctr + Shf + R.
Back up the file to the desktop or another directory.

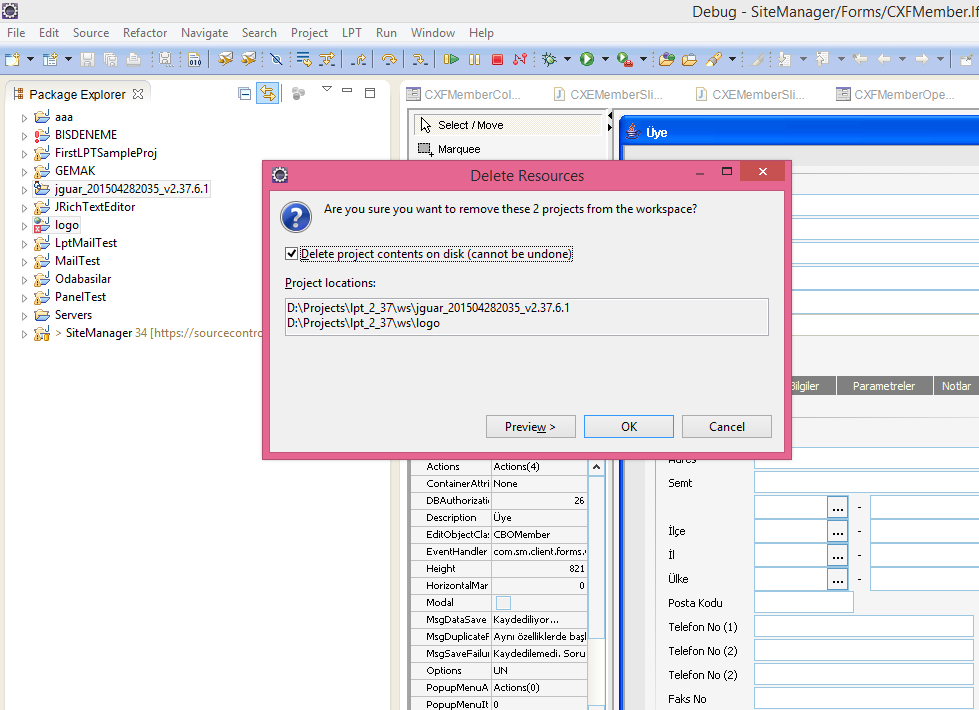
2 - On the LPT Development Platform (Eclipse IDE)
- jguar
- Logo
Is selected and deleted. Select it as shown on the screen and press shift + delete to confirm.
3 - ftp://proje.logo.com.tr/archive/
Copy the latest plugin to the appropriate local directory
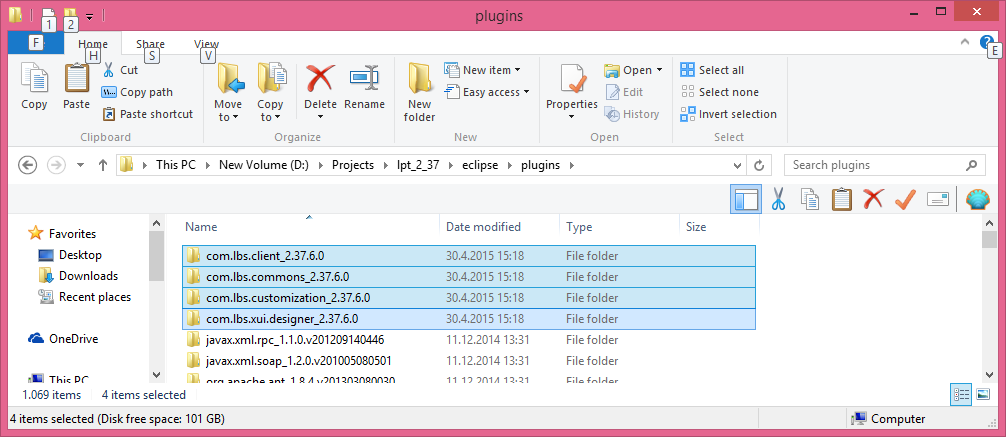
Close Eclipse, delete 4 plugins
Open the newly uploaded zip file in the eclipse directory and the plugins directory.
4 -ftp://proje.logo.com.tr/archive/
The latest source codes are copied to the LPT \ reqfiles directory.

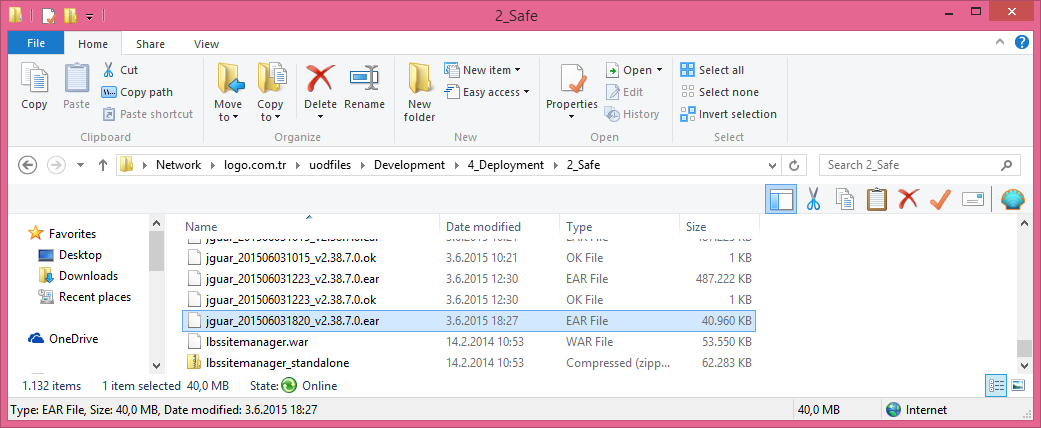
5 - ftp://download.logo.com.tr
The last ear file from the address is copied to the Local directory.
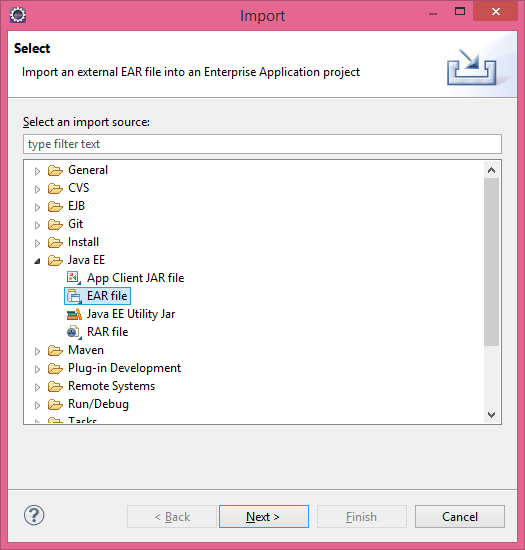
6 - Reopen Eclipse
Eclipse> import> ear selects the local ear file.
After the file is selected, Finish will start the process.
7 - The backup is copied from DBConnection.xml.
/logo/WebContent/Config/System/ Directory.
In the Eclipse editor, you can copy the DBConnection_Sample.xml file with the shortcut Ctrl + Sh + R, then copy it to the same directory.
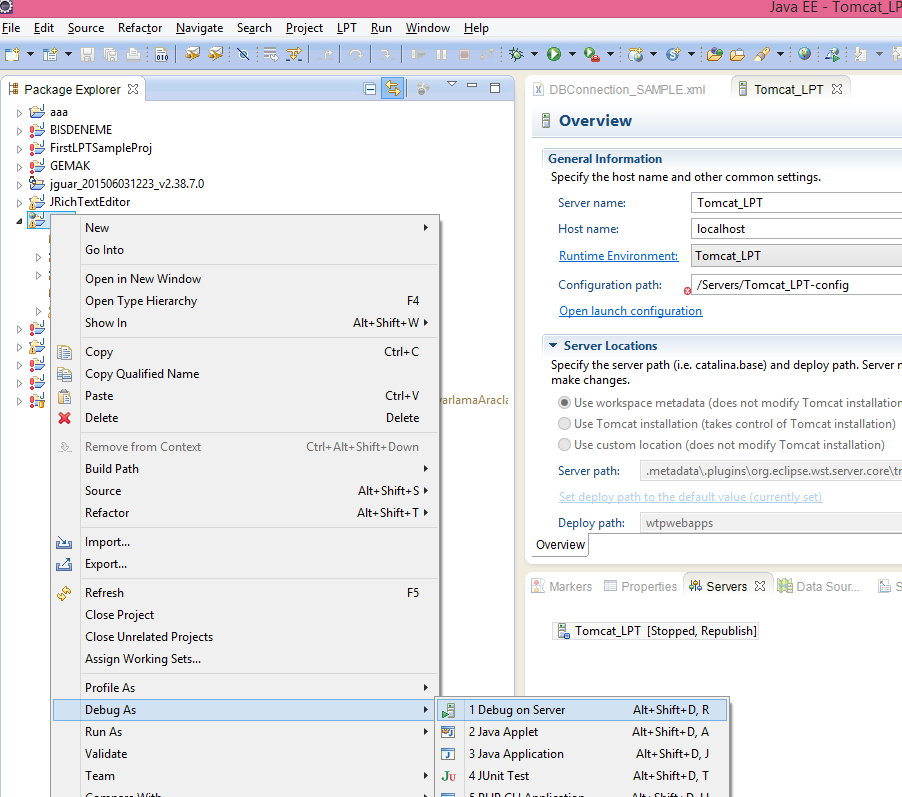
8 - Make sure you have added logo.war in tomcat.
Or you can right-click "debug on server" on the logo project.
The following screen will help.
And disable the autorun parameter.
9 - Launching Server
Start the logo.war web application on the tomcat server in debug mode.
10 - For Source Code Settings
If you want to be able to DEBUG the source code, while on the "logo" project,
Select the "Logo / Prepare jGuar WorkSpace" transaction as below
Select "RegFiles" from the screen and click "logo"
It is sufficient to do a "refresh" operation on the project.
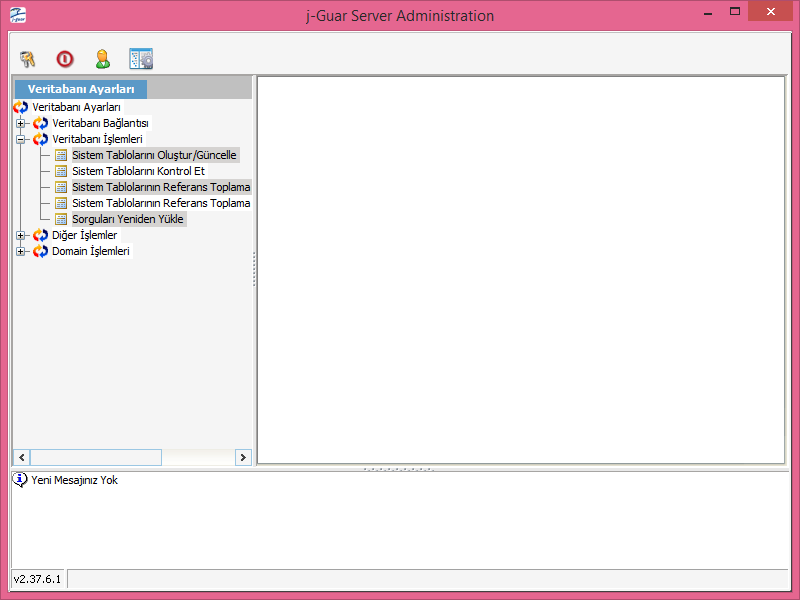
11 - Creating System Tables
From the LPT environment, open the "Debug Configurations" screen, click on "ServerAdminClient" and press "Debug" button.
Username: LOGO
Password: LOGO
When the "System tables updated" warning was displayed, the necessary system tables for the j-guar product were successfully created.
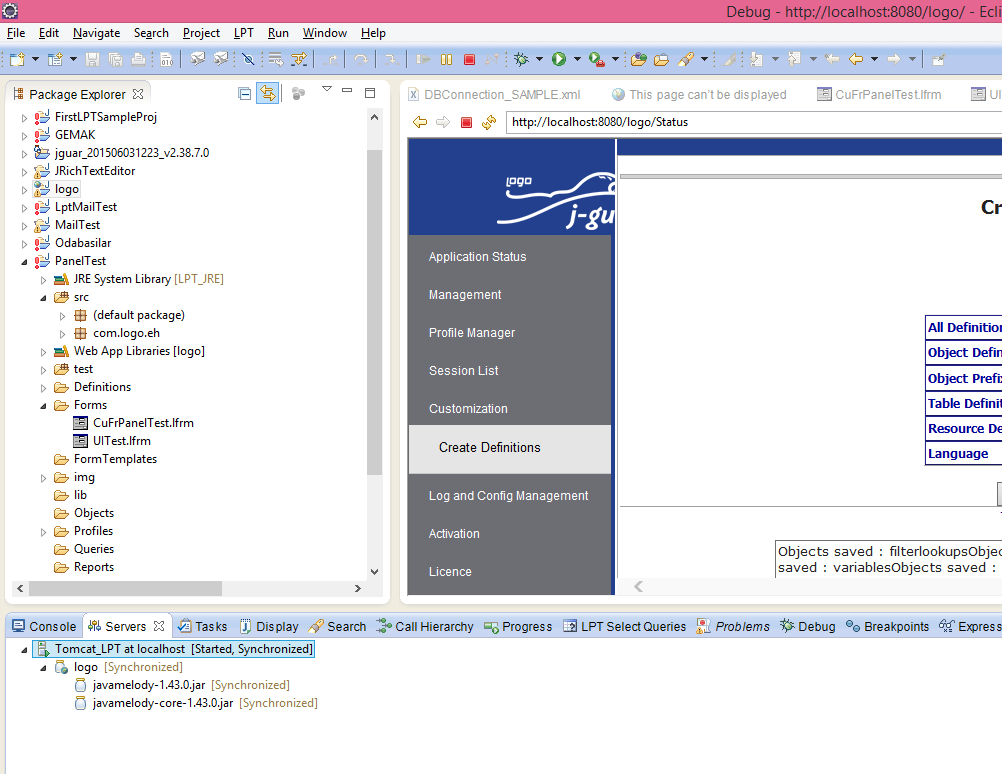
12 - Creating lbsDefinitions.jar
localhost:8080/logo/Status

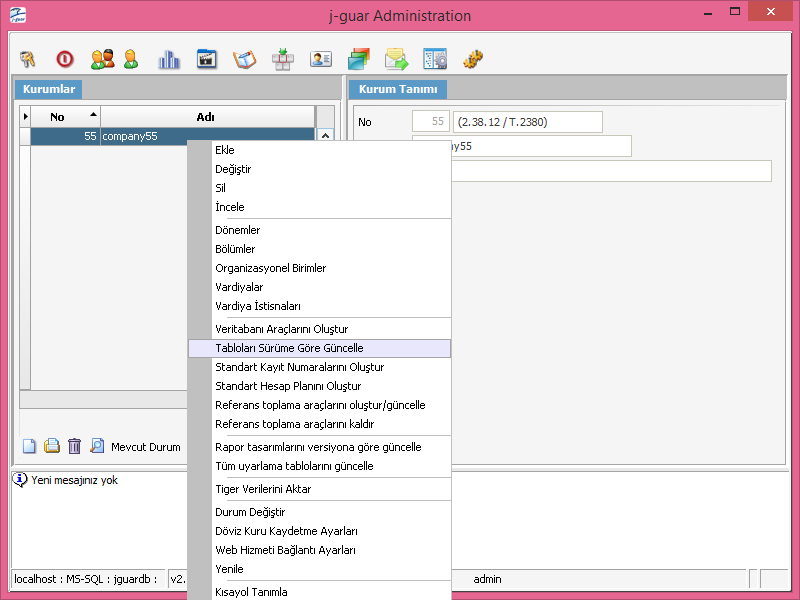
13- Updating Institution Tables
The "Debug Configurations" screen opens from the LPT Environment
Click on "AdminClient" and press "Debug" button.
The following information is entered from the screen that opens.
Username: LOGO
Password: LOGO
The following screen appears.

14 - Eclipse > Project > Clean & Refresh > Build
The LPT environment is ready for use.